Coloring 3D Wooden Puzzles: What You Need To Know Before Starting
Coloring 3D Wooden Puzzles: What You Need To Know Before Starting
Tip 1: Skip the paint; use magic markers instead.
A common question we get is, "Can I paint my 3D puzzle?" When most people go to color their puzzles, one of the first things that jumps to mind is paint. While it can be used, we do not recommend it. If your puzzle relies on friction-fitting parts, painting them may interfere with the assembly process. Since there would be a layer of paint, it can throw off the thickness and add friction preventing the pieces from fitting properly. In lieu of paint, we recommend using a set of magic markers that can be found at any hobby or crafts store.
PRO-TIP: Consider the tip size of the makers before purchasing. 3D puzzles generally contain large and small pieces. A smaller tip size would be ideal for intricate pieces, however, it will take longer to cover larger areas.
Tip 2: Choose your color scheme.
One of the most important elements in art is color. Selecting a color scheme for your three-dimensional puzzle can be difficult. The easiest option would be to use one color for the pieces and using the wood as an accent, but if you want something more interesting and colorful, we suggest choosing two or three colors (i.e., your favorite sports teams colors). This way, each piece will be unique and it will look like a work of art when it's finished. Another idea to help you select your color palette for your 3D wooden puzzle is to match the color theme of the décor in the room where you will be displaying your 3D wooden puzzle.
PRO-TIP: Test each color on spaces of the wooden sheet that are not parts to see how the color dries and the final result.
Tip 3: Color the pieces before assembly.
Some people want to visualize the final 3D puzzle before knowing what colors to use and where to place them. However, once a wood 3D puzzle is assembled, it is very difficult to take it apart. Given the 3D nature of the puzzle, there may be areas that are hard to reach to color. It is recommended to color the pieces before assembly. Some pieces may require coloring both sides depending on where the part is in the puzzle.
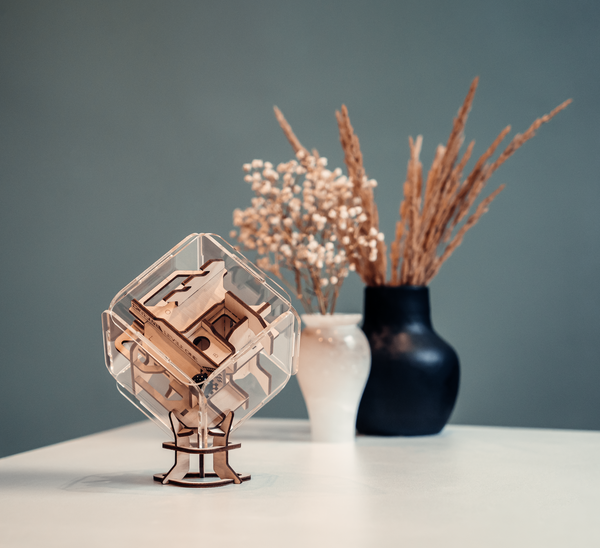
PRO-TIP: If you’re coloring an Intrism puzzle, we recommend avoiding coloring arrow markings. These markings are an indicator of which way you can navigate the marble through the maze and serve an important purpose.
Coloring can help you to unwind and destress by letting your creativity flow. When you finally finish the puzzle and stand back to admire it, it will be clear that a lot of effort went into making it. We hope you found this article useful as you begin your journey in coloring your 3D wooden puzzle!
Have an Intrism puzzle that you made your own with color? Share it on social media and tag us (@intrism), we’d love to feature your work of art on our pages!


